I’m sure that in the mind of anyone who has worked with Arduino boards, the idea to build your own weather station has appeared at some point. Such projects are most often based on the simplest sensors for temperature, humidity possibly pressure. Sometimes a module is also added to measure wind speed. However, practically no project is equipped with a sensor capable of detecting lightning. This is a rather strange state of affairs, given that it is very simple to run this type of module in the Arduino environment.
Also see:

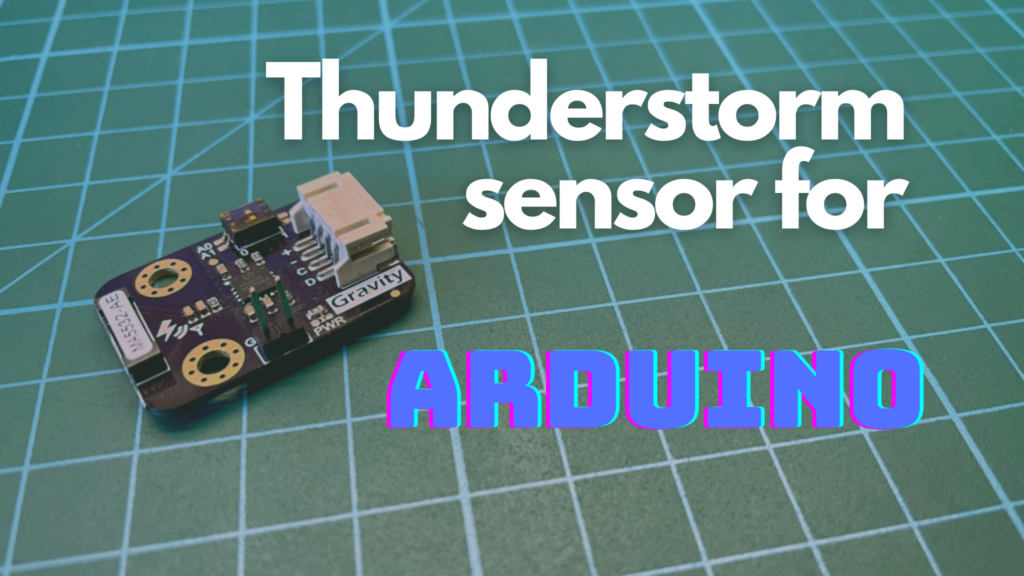
Miniature lightning sensor

DFRobot Gravity Module – Lightning Sensor is a small-sized lightning sensor. Simply put, we can use it to detect an approaching thunderstorm.
The device is equipped with the Frankin AMS AS3935 chip, which is its brainchild. It is a fully programmable specialized chip, to whose leads a dedicated Coilcraft MA5532-AE antenna has been connected. The chip, based on data from the antenna, can detect lightning discharges and determine their intensity and distance from the module. The built-in algorithm also allows to separate potential lightning discharges from unwanted electromagnetic interference.
The chip itself can communicate with the microcontroller via SPI or I2C interfaces, but the module is equipped with an output only for the second interface.
While we are already on the subject of leads – the module has as many as six of them. The first four, i.e. Vcc, GND, SCL, SDA, respectively, are brought out on a dedicated four-pin connector. The first two leads are used to supply the module with 3.3V or 5V, while the remaining ones are the communication pins of the I2C interface. An additional two leads are located at the edge of the board and are labeled GND and IRQ. This is an additional ground and interrupt pin, active when lightning is detected. Besides, on the laminate you will also find a small switch, which allows you to select the address at which the module will be visible to other circuits.
Sensor capabilities
As I mentioned before, the module can inform us of several things, the first of which is the distance of possible lightning from the sensor. It can detect discharges, up to 40 km by dividing this distance into 15 steps. More precisely, we can get information that the storm is 40, 37, 34, 31, 27, 24, 20, 17, 14, 12, 10, 8, 6, 5 or 0 km from the sensor.
The intensity of the discharge itself is described by a 21-bit variable ranging from 0 to 16777201. This is simply a pure number, without any physical meaning therefore we can interpret it any way we want.
In addition, the sensor sends information in case of electromagnetic interference. At the first moment we will receive the information “Disturber discovered!” – interference has been detected, but if the interference is large enough to prevent the module from operating we will receive an alert “Noise level too high!” – interference level too high.
There is one more message to mention – “Lightning occurs!” – lightning is detected. It will appear when lightning is detected in addition, we will receive information about its intensity and distance from the sensor.
Connecting to Arduino

Connecting the sensor to the Arduino Uno board is quite simple. We supply the module with 5V, connect the communication pins to A4 (D-A4) and A5 (C-A5), while the IRQ pin, on which the interrupt signal will appear when a discharge is detected, is connected to the input marked 2.
Time to get with the program
The Arduino IDE development environment will need an additional library to properly handle the sensor. It is available on the GitHub profile – DFRobot.
/*
       AS3935_ADD1  0x01   A0 = 1  A1 = 0
       AS3935_ADD2  0x02   A0 = 0  A1 = 1
       AS3935_ADD3  0x03   A0 = 1  A1 = 1
*/

#include "Lib_I2C.h"
#include "DFRobot_AS3935_I2C.h"

volatile int8_t AS3935IsrTrig = 0;

#define IRQ_PIN              2

// Antenna capacitance (must be in the range of 8.8 - 120 pf)
#define AS3935_CAPACITANCE   96

// External/internal mode selection
#define AS3935_INDOORS       0
#define AS3935_OUTDOORS      1
#define AS3935_MODE          AS3935_INDOORS

// enable/disable interference detection
#define AS3935_DIST_DIS      0
#define AS3935_DIST_EN       1
#define AS3935_DIST          AS3935_DIST_EN

// I2C adress
#define AS3935_I2C_ADDR       AS3935_ADD3

void AS3935_ISR();

DFRobot_AS3935_I2C  lightning0((uint8_t)IRQ_PIN, (uint8_t)AS3935_I2C_ADDR);

void setup()
{

  Serial.begin(115200);
  Serial.println("DFRobot AS3935 lightning sensor begin!");

  // I2C init
  I2c.begin();
  I2c.pullup(true);
  I2c.setSpeed(1);
  delay(2);

  // Set registers to default value
  if (lightning0.defInit() != 0) {
    Serial.println("I2C init fail");
    while (1) {}
  }
  // modul init
  lightning0.manualCal(AS3935_CAPACITANCE, AS3935_MODE, AS3935_DIST);

  attachInterrupt(0, AS3935_ISR, RISING);

}

void loop()
{
  // Do nothing until an interrupt is detected
  while (AS3935IsrTrig == 0) {}
  delay(5);

  // Reset flagi przerwan
  AS3935IsrTrig = 0;

  // Get the source of the interruption
  uint8_t intSrc = lightning0.getInterruptSrc();
  if (intSrc == 1)
  {
    // Send information about landing detection and distance
    uint8_t lightningDistKm = lightning0.getLightningDistKm();
    Serial.println("Lightning occurs!");
    Serial.print("Distance: ");
    Serial.print(lightningDistKm);
    Serial.println(" km");

    // Send information about the intensity of the discharge
    uint32_t lightningEnergyVal = lightning0.getStrikeEnergyRaw();
    Serial.print("Intensity: ");
    Serial.print(lightningEnergyVal);
    Serial.println("");
  }
  // If intSrc = 2 - interference detected
  else if (intSrc == 2)
  {
    Serial.println("Disturber discovered!");
  }
  // If intSrc = 3 - interference too great
  else if (intSrc == 3)
  {
    Serial.println("Noise level too high!");
  }

}

// Interrupt handling
void AS3935_ISR()
{
  AS3935IsrTrig = 1;
}
The code, although it may look complicated at first glance, is actually quite simple. In the first part of the code, until the setup function is called, all the variables needed to run the module are defined. For us, the most important issue is to determine the correct address of the sensor. At the very beginning, information about the possible addresses and the corresponding positions of the switches on the module is placed. It is important to remember that when you change the address, you should also modify the line #define AS3935_I2C_ADDR AS3935_ADD3, where the last digit indicates the sensor address.
The setup loop initializes the UART and I2C interfaces, and starts the sensor itself.
The main loop of the program starts with a while loop, which waits for an interrupt signal, when it occurs, information about the distance and intensity of the discharge is retrieved, then this data is sent via the UART to the screen of our computer. What’s more, if the intSrc variable takes the value of 2 or 3 interference information is sent.
At the very end, an interrupt handler function was placed.

How to fool a thunderstorm sensor?
At the time I am writing this article, it is May, also naturally occurring lightning during thunderstorms is quite difficult. Yes they can also occur in this month, but it is quite rare, and after all, we will not wait until summer to check if the sensor is working properly. In this case, is there any way to fool our sensor.
The answer is yes, and to be more precise, this is possible thanks to an ordinary cigarette lighter. When the lighter is fired, a spark is generated, which can be interpreted by the sensor as a lightning discharge.
After running the program and pressing the button on the cigarette lighter, in most cases the sensor will interpret the resulting spark as a disturbance. However, it also happens that there will be information about the detected discharge. Yes it will have an intensity of 1-2 and the distance will be several kilometers, but in this way we are able to fool the module and check its operation.

After running the program and pressing the button on the cigarette lighter, in most cases the sensor will interpret the resulting spark as a disturbance. However, it also happens that there will be information about the detected discharge. Yes it will have an intensity of 1-2 and the distance will be several kilometers, but in this way we are able to fool the module and check its operation.
I think that the DFRobot Gravity – Lightning Sensor is a very interesting design, which can be easily incorporated into the design of even the simplest weather station. The advantages of this module are, first of all, its small size and ease of use.
Also see:

Sources:
- https://github.com/DFRobot/DFRobot_AS3935